


Umbraco Backoffice Introduction & Overview
Introduction
Umbraco, the world's leading open-source content management system built on the latest .NET (ASP.NET core) technology, offers all you need to create a powerful, user-friendly website. Umbraco Backoffice is the admin side of Umbraco website.
Welcome to the BBC Studios Umbraco User Guide for those looking to learn some content management skills on Umbraco.
All our sites are requested and managed by a site owner in the team that owns the page. If you would like to set up a new site for your team, or need a quick refresh on how Umbraco works, we have put together a quick how-to guide to help.
Getting Started!
Are you interested in setting up a new site?
The CMS platform makes it very easy to get a site up and running.
Using Umbraco
Getting Access
When we first set you up with your new site, we will send you your login details.
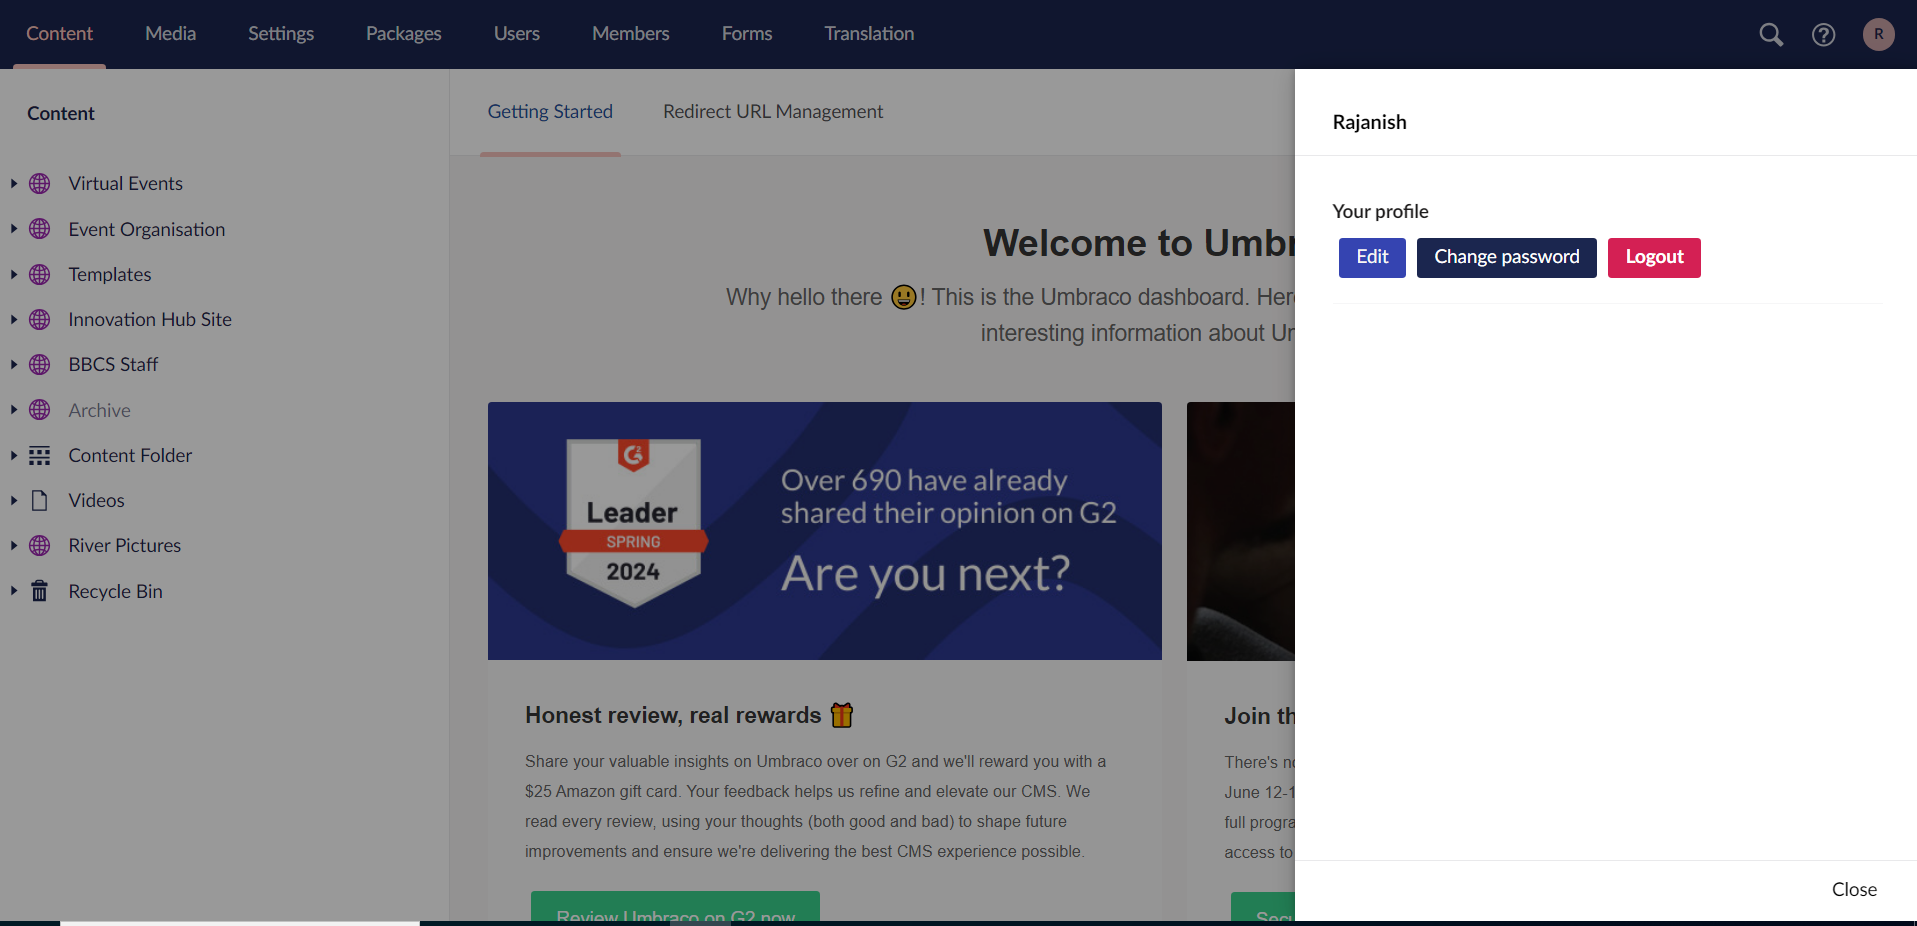
You can change your Umbraco password by clicking on the tab with your initials in the top left, then the Change Password button.

After successful login you can view home page as below:

Backoffice Dashboard & Sections
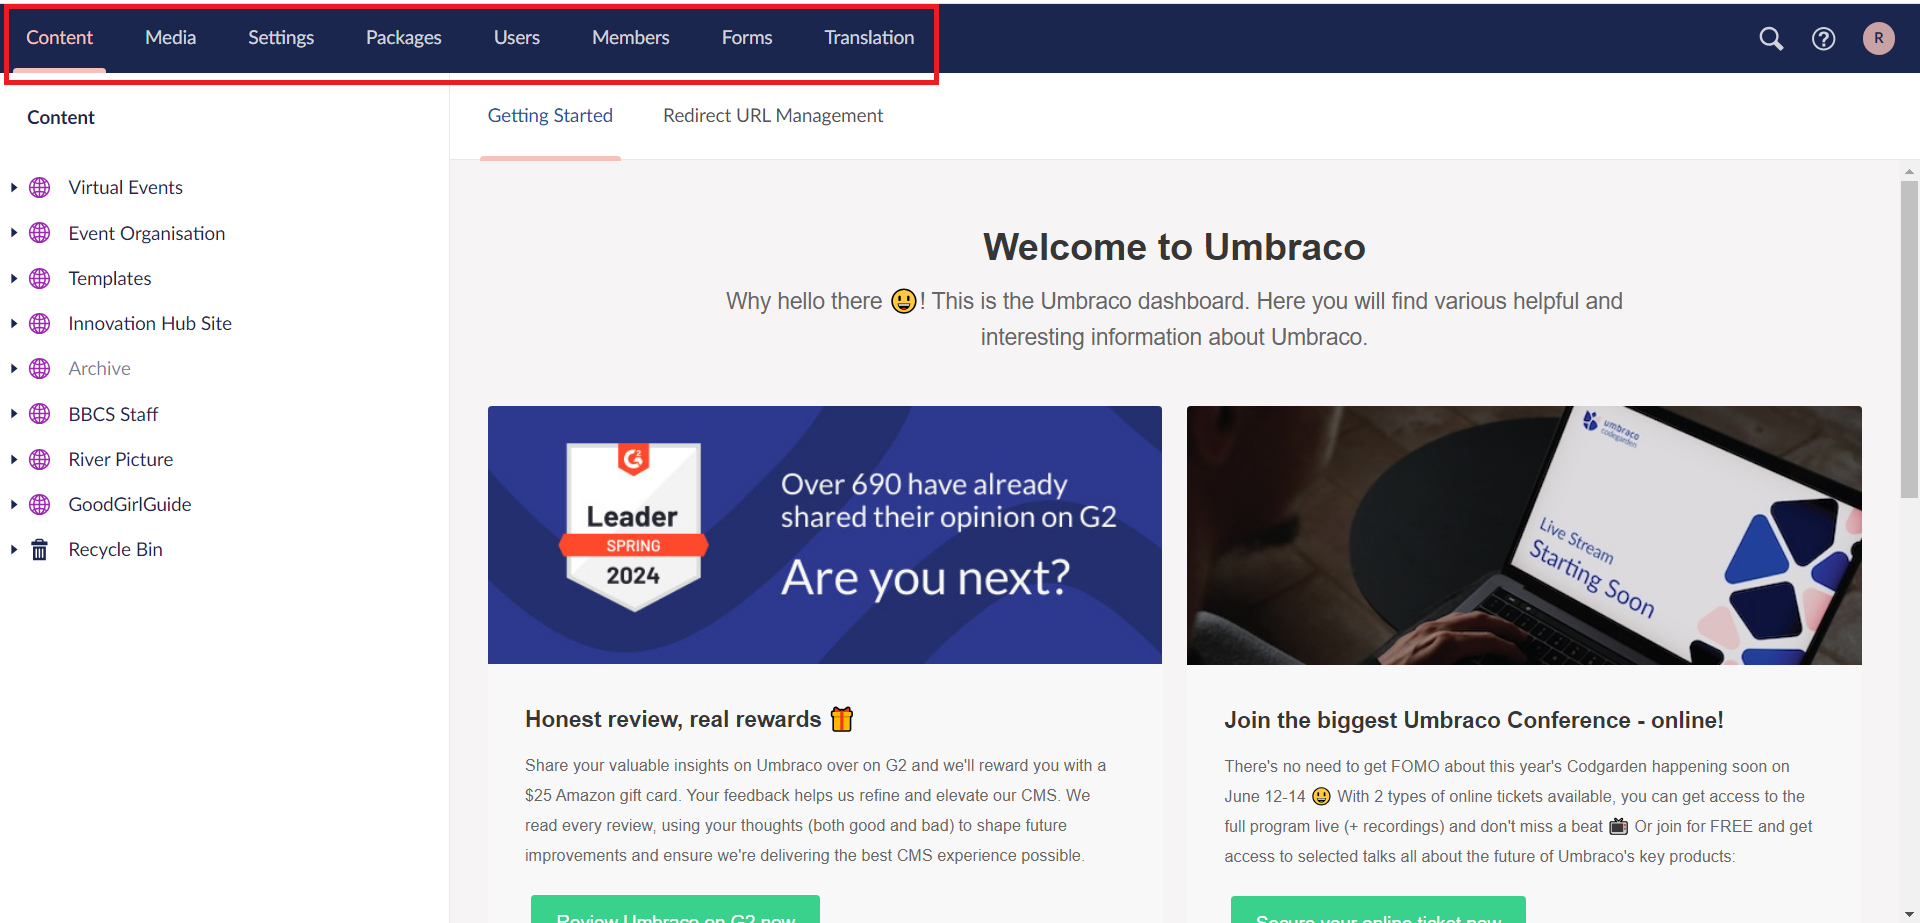
Section:
A section in Umbraco is where you do specific tasks related to that section. For example Content, Settings and Users. You can navigate between the different sections of the Backoffice by clicking the corresponding icon in the section menu.
The Section menu is the horizontal menu located on the top of the Backoffice.
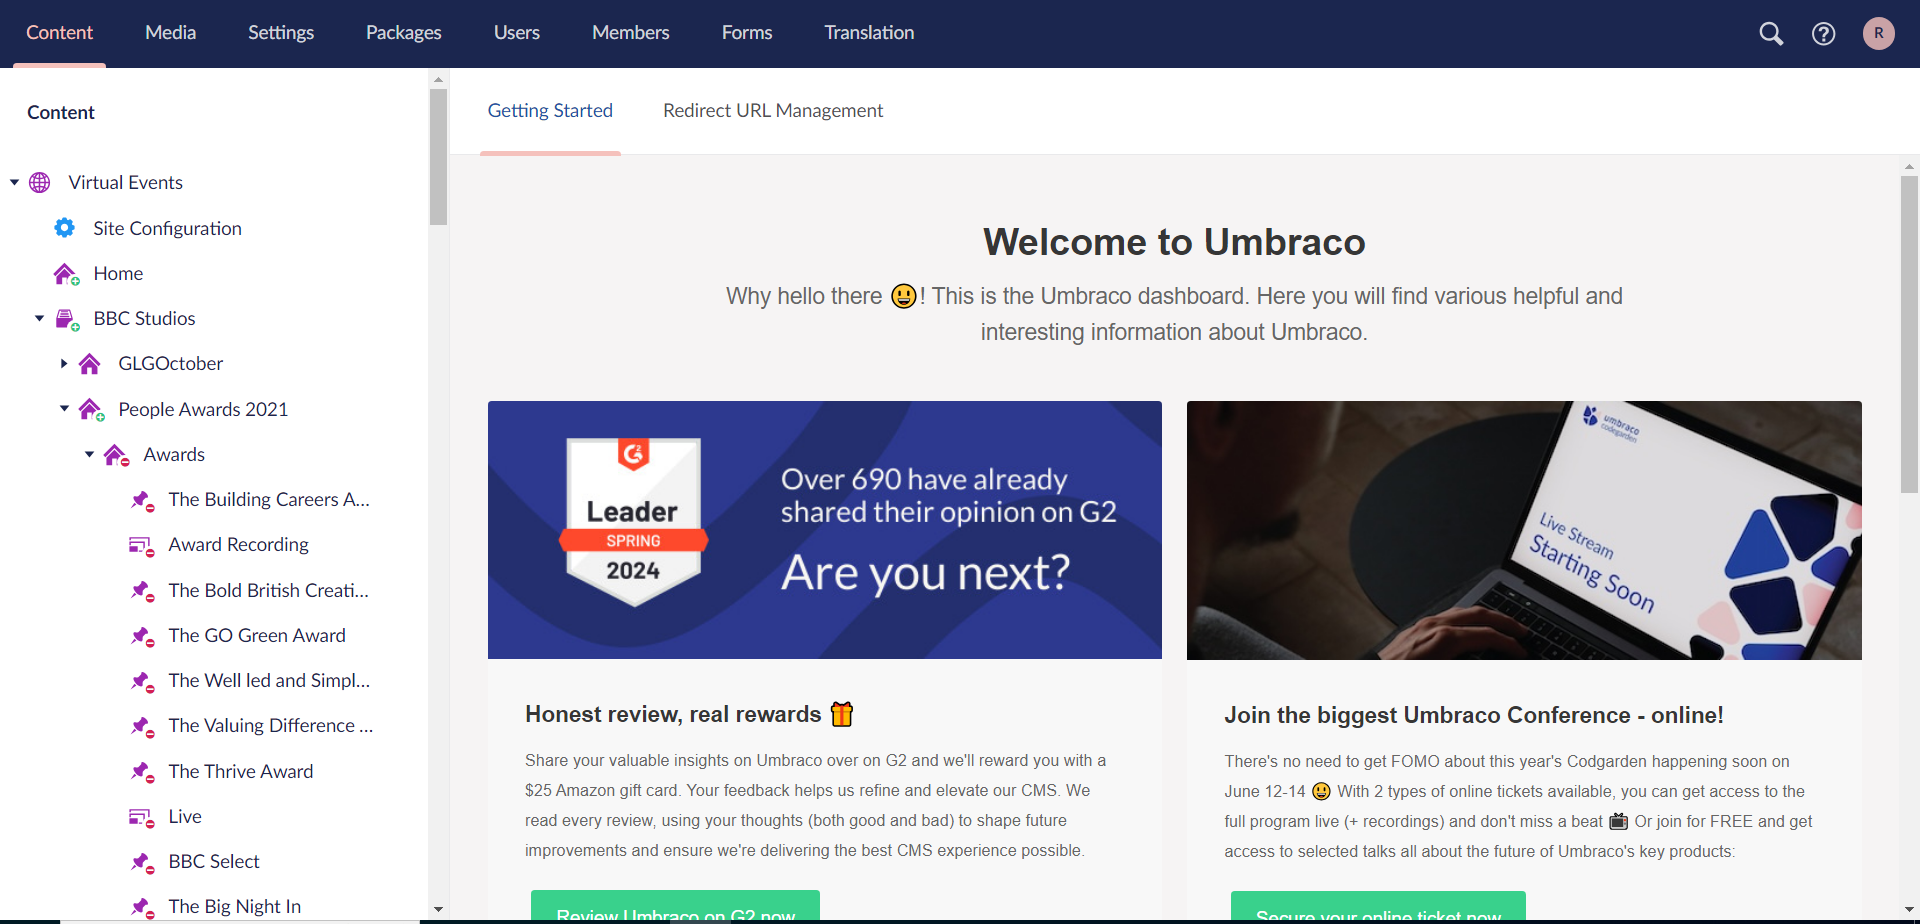
Content
The Content section contains the content of the website. Content is displayed as nodes in the content tree. Nodes can also show content state:
- Grayed out nodes have not been published
- Nodes have unpublished versions (but are currently published)
- Nodes are protected from the public (can only be accessed by a logged in Member)
- Nodes are currently locked/non-deletable
- Nodes are containers (a List View for example
In order to create content, you must define it using Document Types.
Media
The Media section contains the media for the website. By default, you can create folders and upload media files (images and PDFs). You can customize the existing media types or define your own from the Settings section.

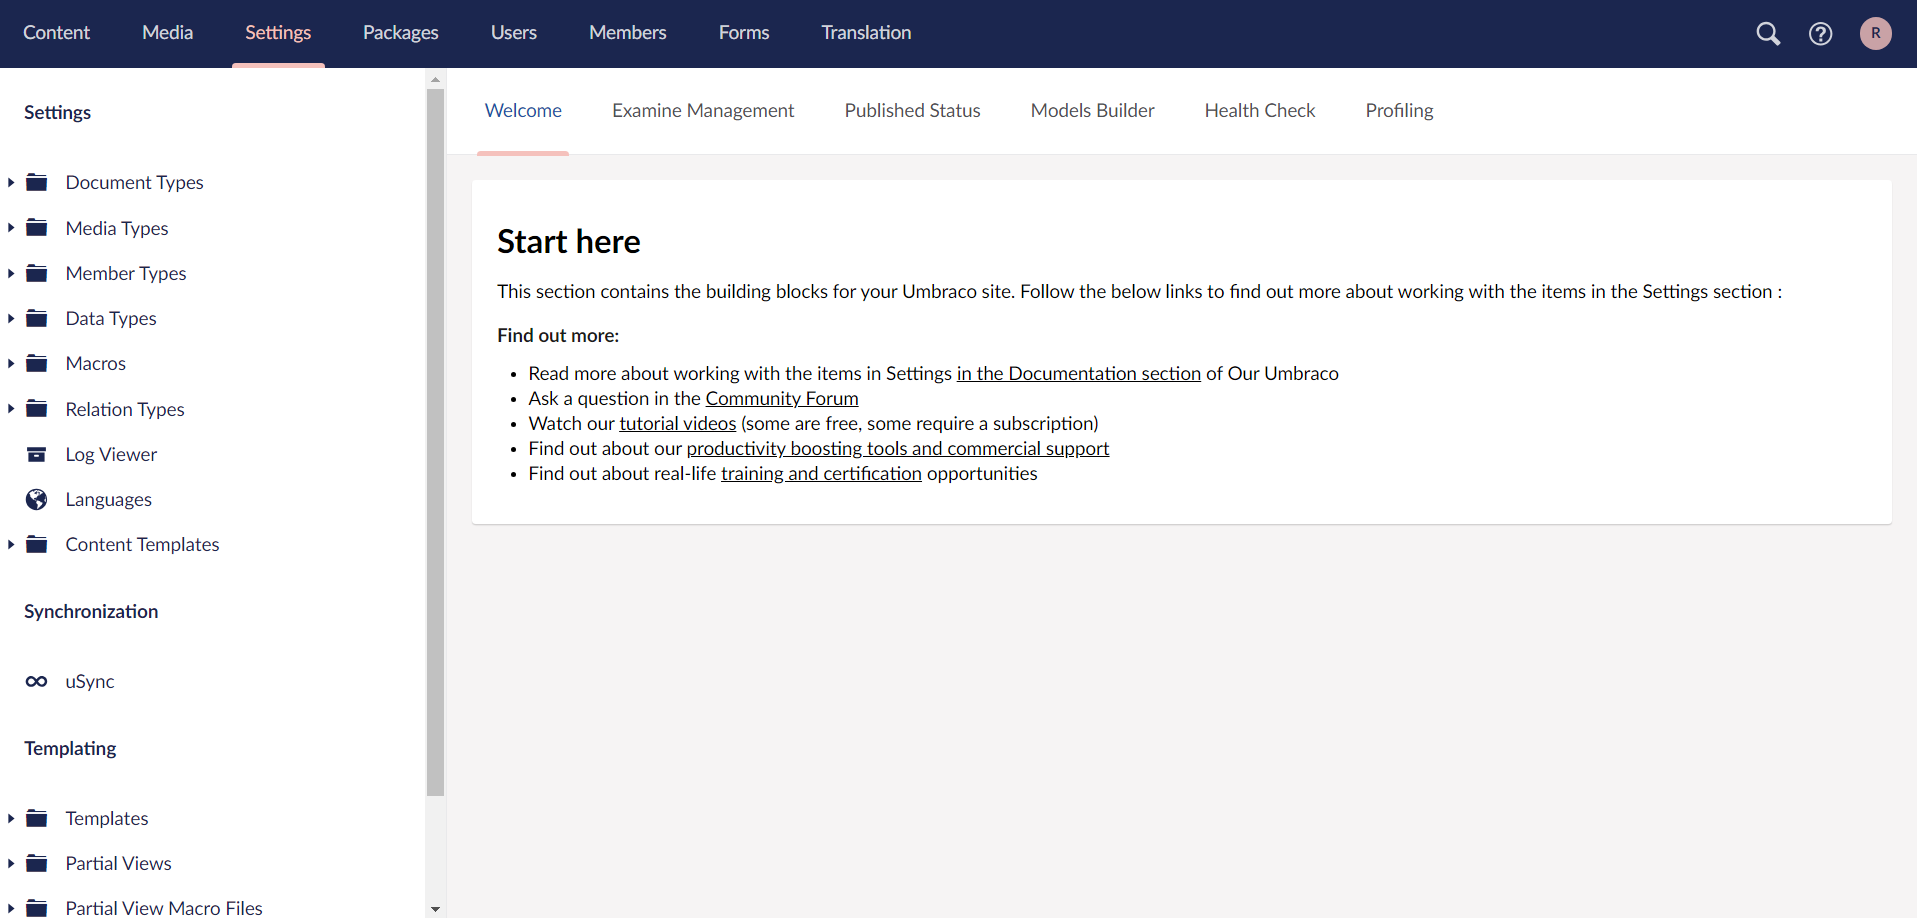
Settings
The Settings section is where you can work with the website layout files, languages, and define media and content types. In this section, you can also find the Log Viewer to browse through your log files.
The Settings tree consists of:
- Document Types
- Media Types
- Member Types
- Data Types
- Relation Types
- Log Viewer
- Languages
- Content Templates
- Templates (.cshtml files)
- Partial views (.cshtml files)
- Stylesheets (.css files)
- Scripts (.js files)
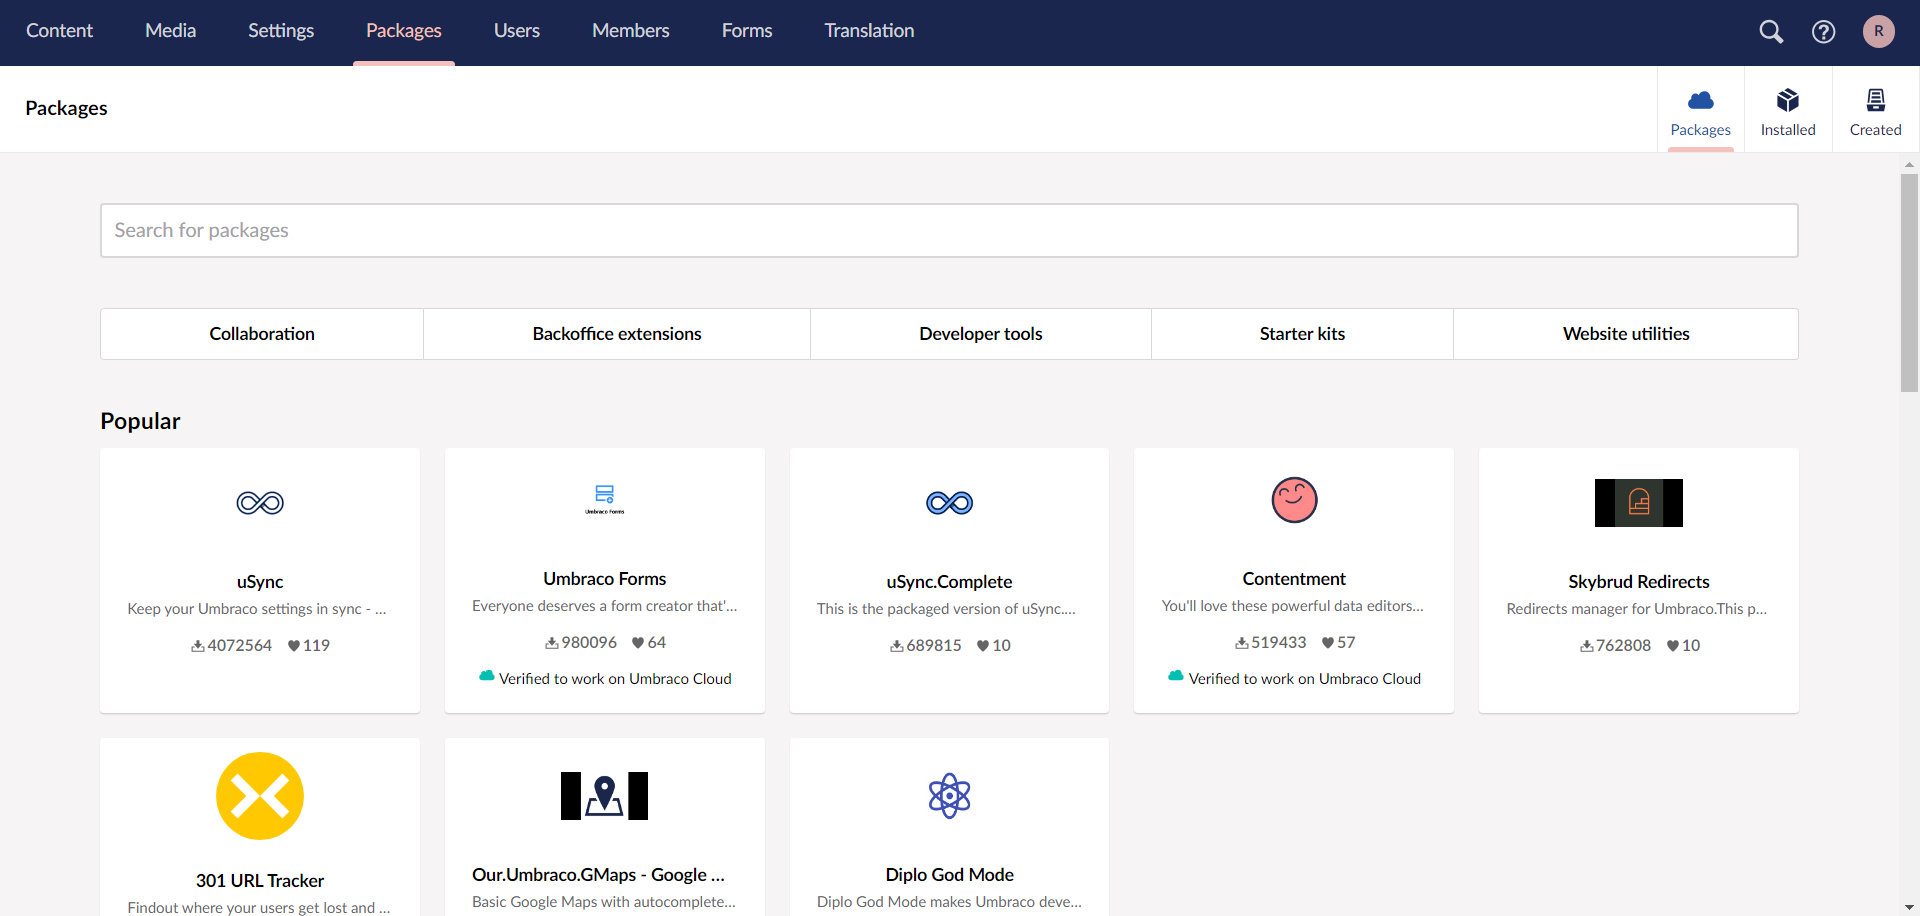
Packages
In this section, you can browse and install packages into your Umbraco solution. You can also get an overview of all the installed packages as well as uninstall packages you no longer need.

Users
You can manage, create, and customize Backoffice users and user groups.
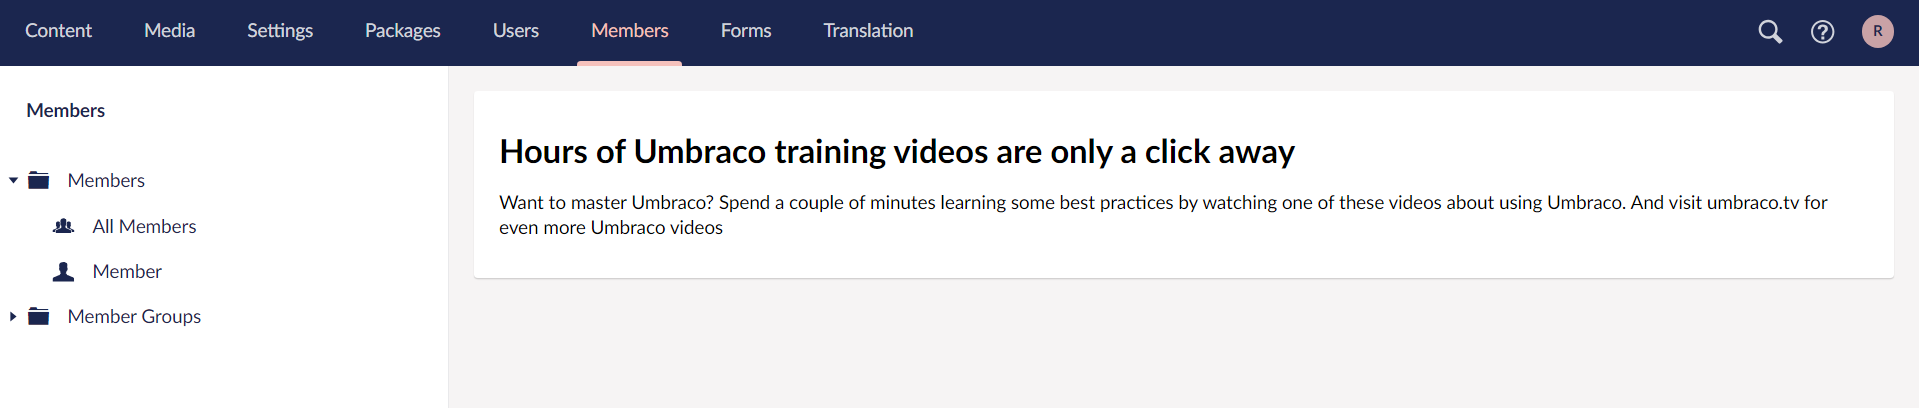
Members
You can manage, create, and customize members and member groups.
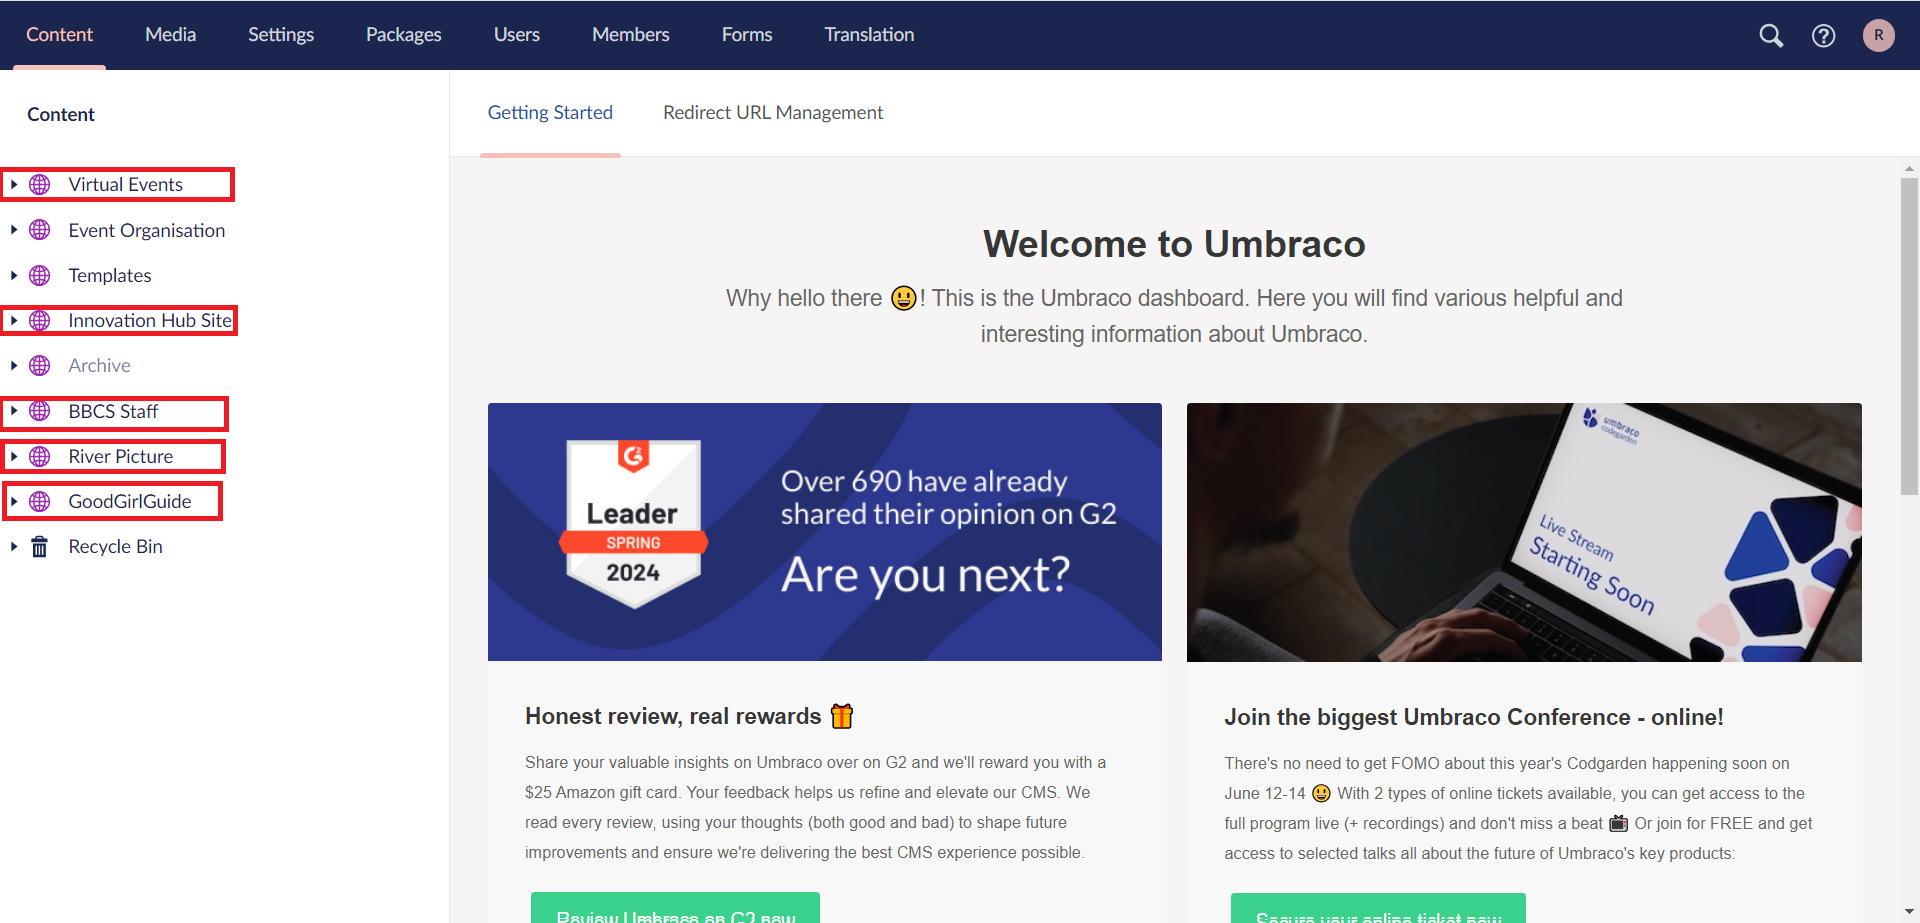
Web sites available in CMS Platform:
When you will navigate to Content page then you can see different website available in Backoffice.
Learning Umbraco
Download the Umbraco Editor's Manual (PDF) for general information on how to use Umbraco.
This guide includes information on:
- Logging on
- Editing existing content
- Creating, saving and publishing content
- Moving content around
- Text formatting
- Working with Images
- Macros (widgets)
- Tables
Browser Support
Umbraco works in most browsers, but newer browsers feature extra functionality such as uploading multiple images at once, and uploading images by simply dragging them onto the browser window.
We recommend using Chrome or Firefox when editing content in Umbraco.
Deleted Content
Deleted Content When pages under Content or images under Media are deleted, Umbraco stores them in its Recycle Bin. If you accidentally delete content and need it restored, please email us and we'll restore it for you. Note the Recycle Bin is emptied out every few months.
If you wish to store old pages you can create a new unpublished page under your site and name it e.g. 'Archived'. Click the 'Unpublish' button on the Properties tab of the page you want to archive, and then move it under this Archived folder.